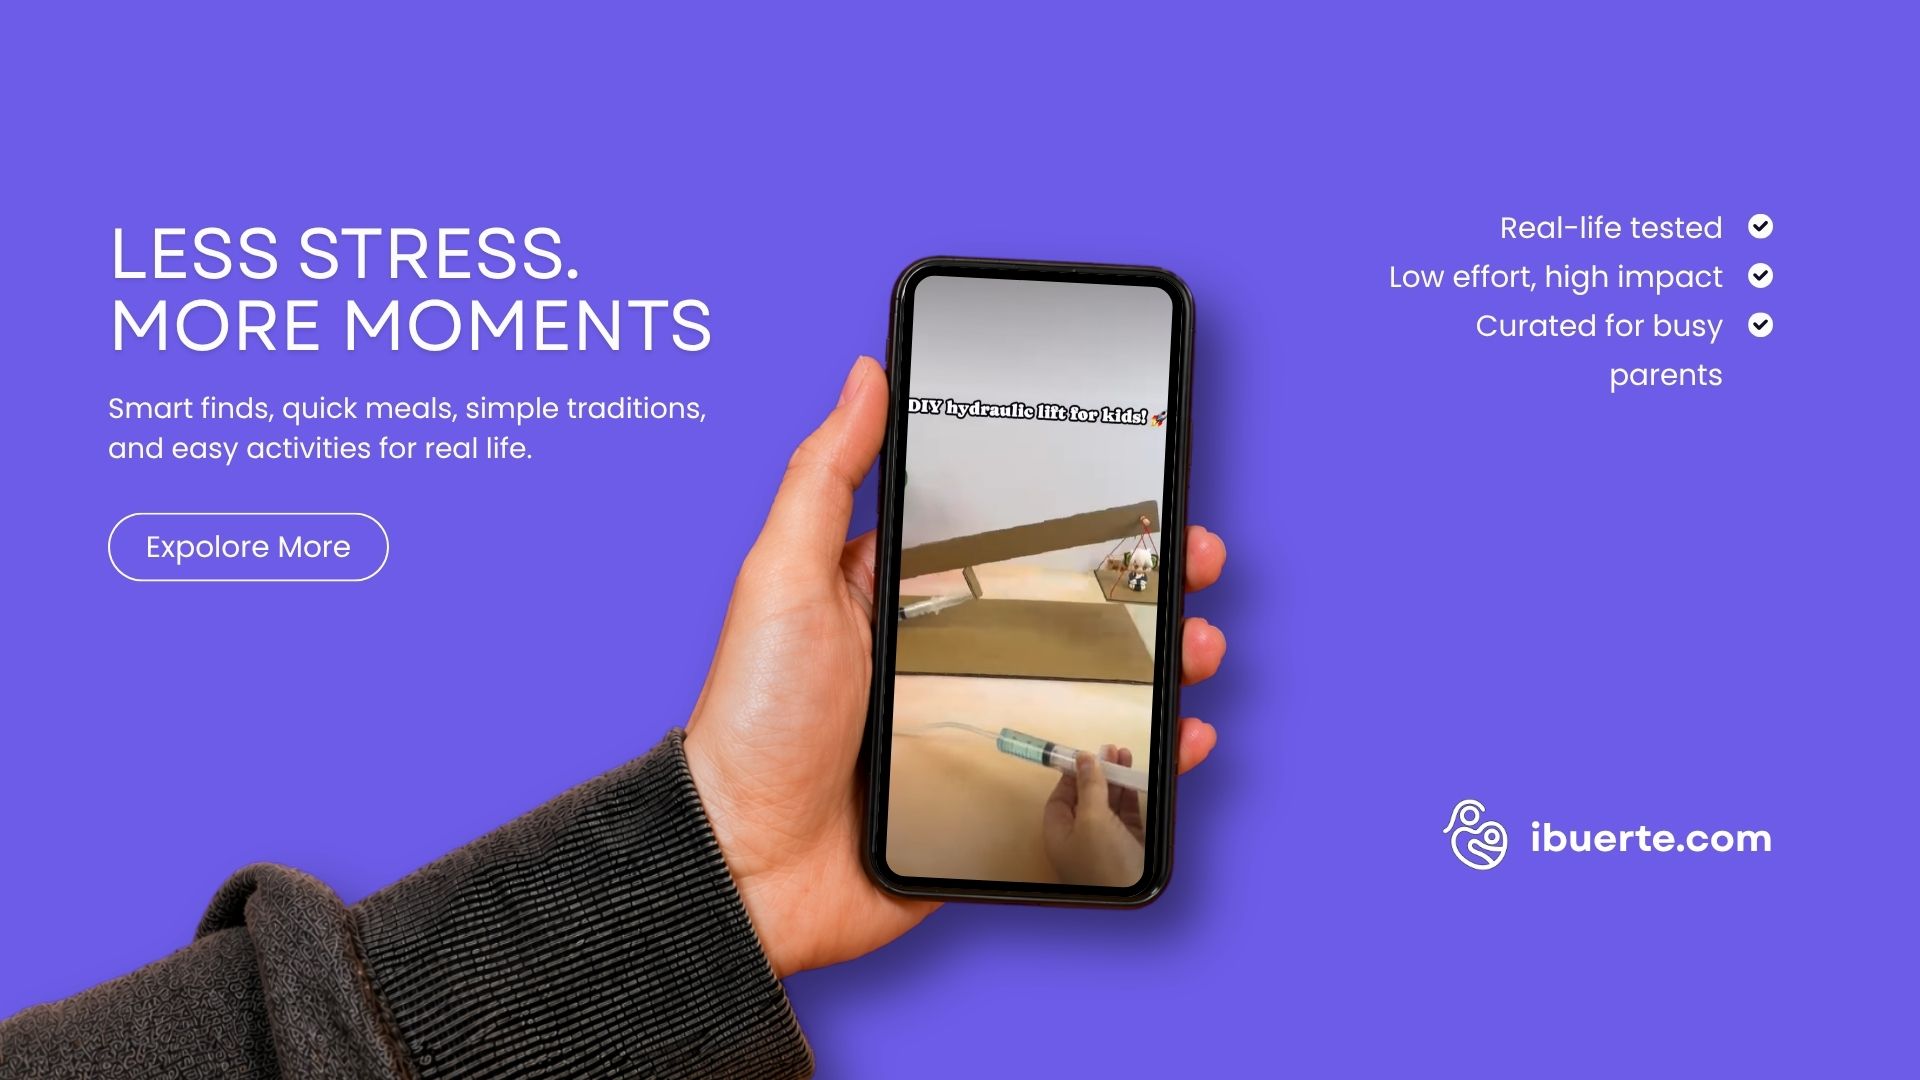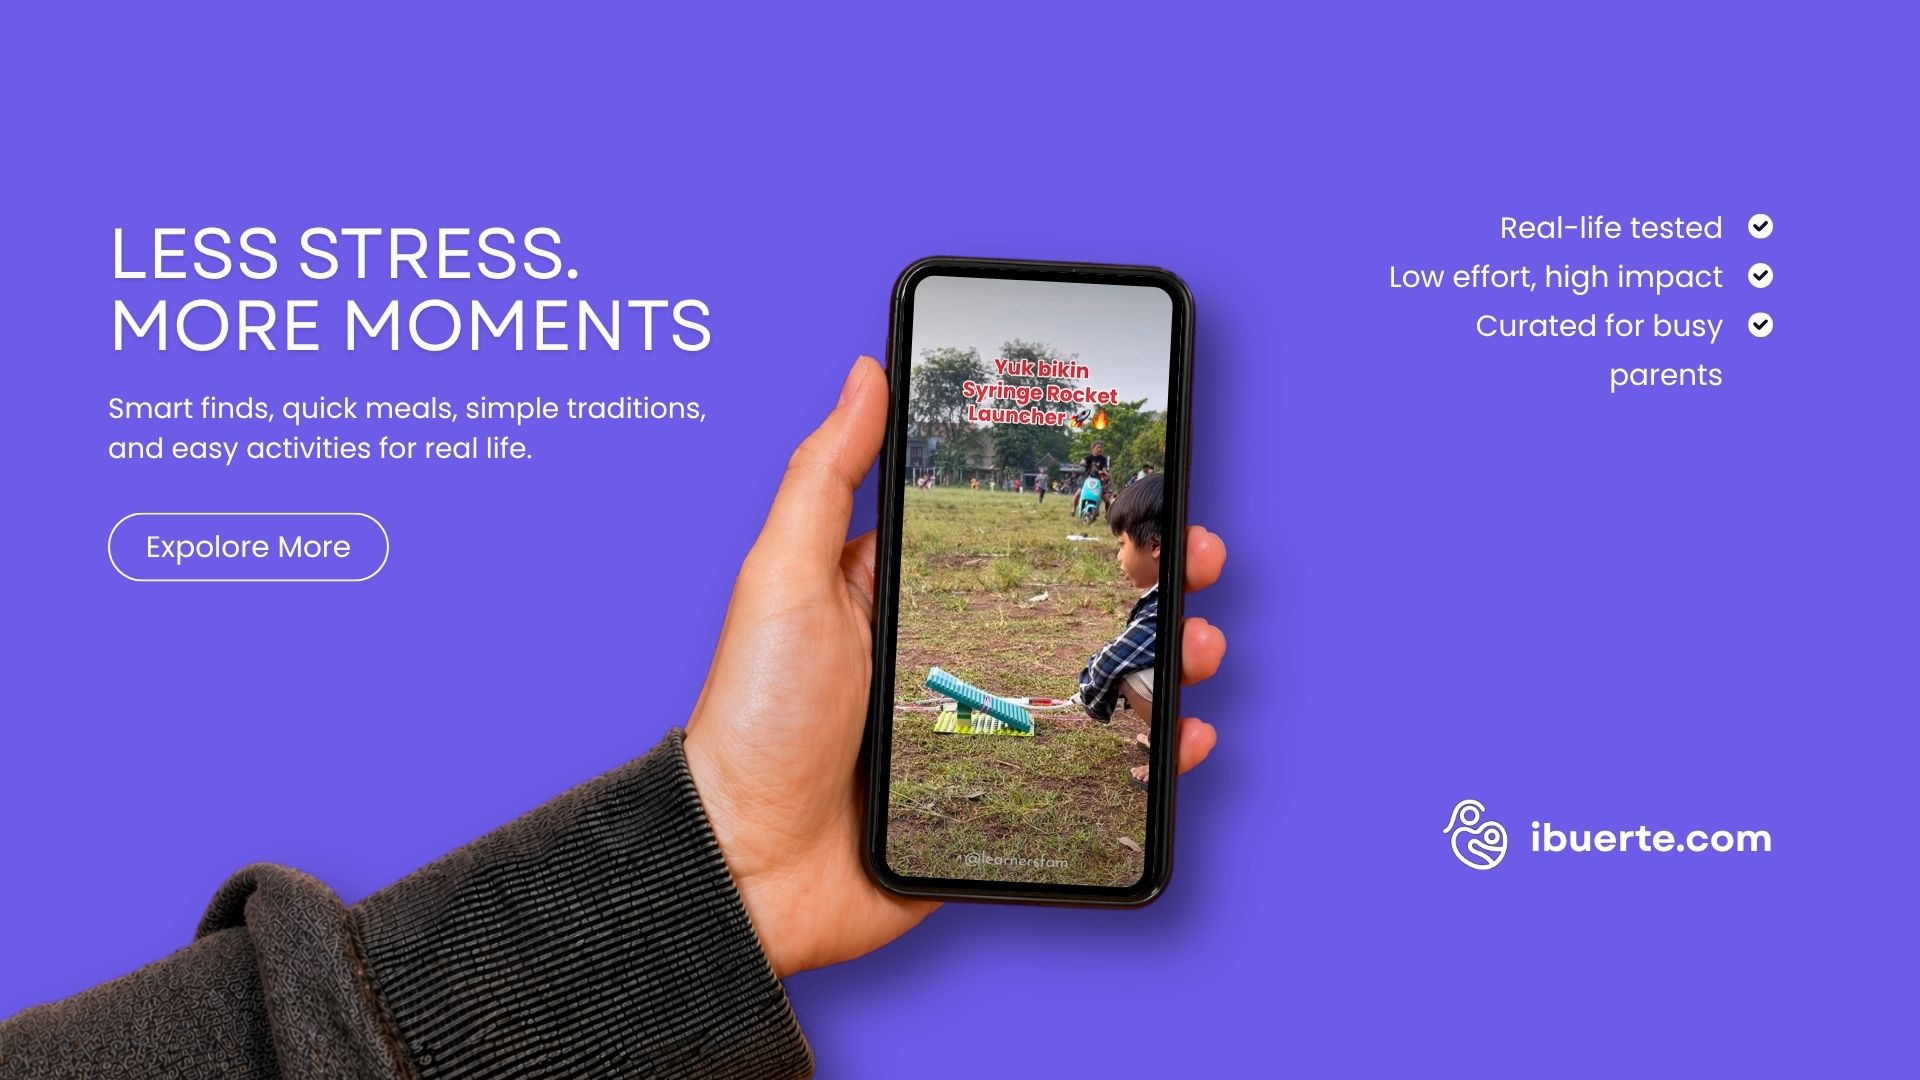

There’s something magical about watching a homemade launch zip through the air — and the best part is that your kids can build the launcher themselves using materials you already have at home.
This DIY syringe rocket launcher is a simple but powerful STEM activity that introduces kids to real science concepts like air pressure, force, and motion — all while having a genuinely fun time.
What You Need
- Syringe (the main launcher body)
- Small rocket or projectile (can be a small piece of rolled paper, a light plastic figure, or a tiny pom-pom)
- Yogurt pouch with cap (alternative launcher option)
- Tape or rubber band (to hold things in place)
- A flat launching surface (table or floor)
That’s it — most of these are things you’d otherwise throw away.
How to Build It
Step 1 — Set up the launcher
If using a syringe, pull the plunger back fully. Insert your small rocket projectile into the tip of the syringe. Make sure it fits snugly but not too tight — you want it to release easily when launched.
Gather simple materials and prepare the launcher
Step 2 — Create the launch mechanism
For a syringe launcher, the idea is simple: push the plunger in quickly. The air pressure builds inside the syringe, and when it builds enough force, it propels the projectile out — just like a real rocket.
If using a yogurt pouch, poke a small hole in the cap, insert the pouch tip, and squeeze the pouch to build pressure.
Step 3 — Test and adjust
Start with a gentle push to see how far it goes. Then experiment with harder pushes and different angles. Try launching horizontally, at an angle, or straight up.
Step 4 — Launch!
Have your child press the plunger or squeeze the pouch. Count down, watch the flight, and record the results. The excitement builds with every launch.
The Science Behind It
This activity isn’t just fun — it’s real physics:
- Air pressure builds up inside the syringe when you push the plunger
- Force is created by the compressed air pushing against the projectile
- Motion happens when the force is strong enough to overcome the projectile’s resting state
- Newton’s Third Law — for every action, there’s an equal and opposite reaction. The air pushing out is matched by the projectile pushing forward.
Ask your kids questions as they play:
- What happens if you push harder?
- Does a heavier projectile go farther or shorter?
- Does the angle change how far it flies?
Tips for Success
- Use light projectiles — heavier objects need more pressure to move. Small paper balls, pom-poms, or tiny plastic toys work best.
- Practice first — let kids experiment with different pressure levels before calling it a “launch day.”
- Go outside — this experiment is best in an open space. A backyard or park is ideal.
- Keep it safe — remind kids not to point the launcher at anyone. Safety first, fun second.
Why This Activity Works
Kids learn best when they don’t realize they’re learning. This DIY rocket launcher:
- Engages curiosity — “What makes it go?”
- Builds fine motor skills — the plunger requires gentle, controlled movement
- Teaches cause and effect — pressure in, projectile out
- Encourages trial and error — the best launches come after experimenting
It’s the kind of activity that sticks with them — not because they were told to memorize something, but because they experienced it.
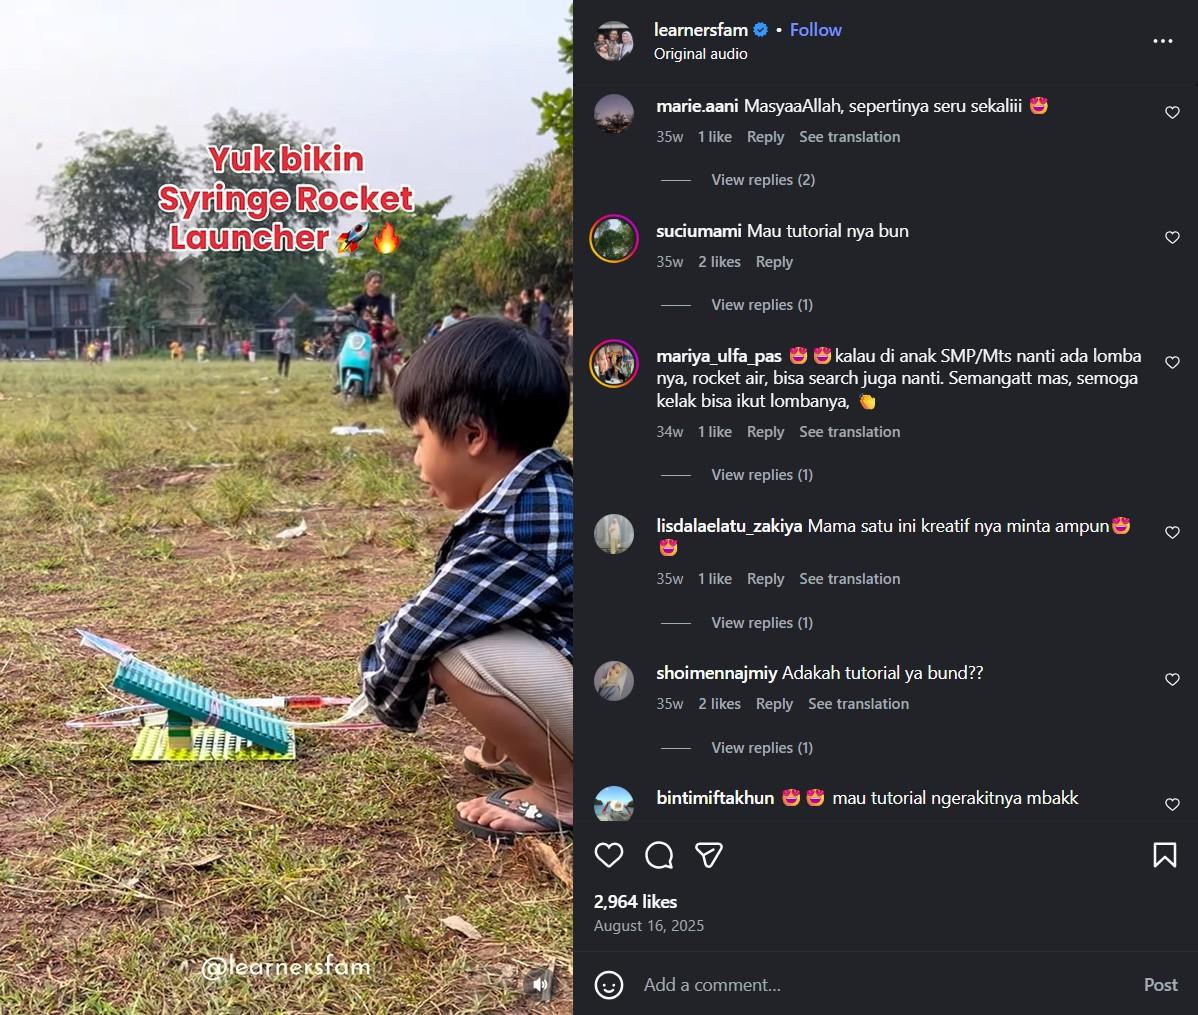 Watch the launch — curiosity takes flight with every push
Final Thoughts
Simple materials, big science. That’s what makes this experiment so powerful. Your kids walk away not just knowing that air can push things — they felt it, saw it, and repeated it.
Give it a try and watch the wonder in their faces.
Credit: @learnersfam — shared via Instagram Reel.
Watch the full experiment on Instagram.
Linea
Professional mom of three and somehow still standing. Low-prep activities, cozy traditions, kid-friendly recipes & finds for curious kids, because we're all winging it together :)
Learn more about us →