
I’ve been looking for a STEM activity that actually holds my kids’ attention for more than five minutes. This DIY hydraulic lift is the one. It takes basic materials you probably already have at home, and the moment they push the syringe and watch the platform rise, they are hooked.
📱 Source: @mollyteacher on Instagram
What Is a Hydraulic Lift
A hydraulic lift uses fluid pressure to move heavy objects with very little force. The same principle powers construction cranes, car jacks, and elevators. When your child pushes one syringe plunger, it pushes water into another syringe, which then lifts the platform. That is the basics of Pascal’s law in action.
It sounds complicated, but the build is simple enough for kids as young as six or seven with a bit of help.
What You Need
Here is what to gather before you start:
- Cardboard (a cereal box works well)
- Two plastic syringes (10ml size is ideal)
- Small plastic tubing to connect the syringes
- Water
- Hot glue or strong craft glue
- Scissors
- A small platform (a piece of cardboard or a plastic lid)
How to Build It
- Cut two identical cardboard frames for the base and the lifting platform. Make sure they are sturdy enough to hold a small weight.
- Glue one syringe vertically to the base frame. This is your lifting syringe.
- Attach the second syringe to the base frame at a horizontal angle. This is your control syringe.
- Connect the two syringes using the plastic tubing. Make sure the connection is tight so water does not leak.
- Fill the system with water, making sure there are no air bubbles trapped inside.
- Glue the small platform on top of the vertical syringe plunger.
- Let the glue dry completely before testing.
How It Works
When your child pushes the plunger on the control syringe, it forces water through the tube into the lifting syringe. The water pushes the plunger up, and the platform rises. The smoother the push, the smoother the lift.
This is a great moment to talk about force, pressure, and why big machines like diggers and cranes use hydraulics. Keep it simple and let them experiment first. The explanations will make more sense once they see it in action.
Why Kids Love This Experiment
The instant feedback is what makes this work. There is no waiting, no complicated steps, no “now we wait for results.” Push the plunger and the platform moves. That is satisfying for any age.
It also opens the door to real questions. Why does it stop at a certain height? What happens if we add weight to the platform? Why does it go down when we pull the plunger back? Let them explore and figure it out.
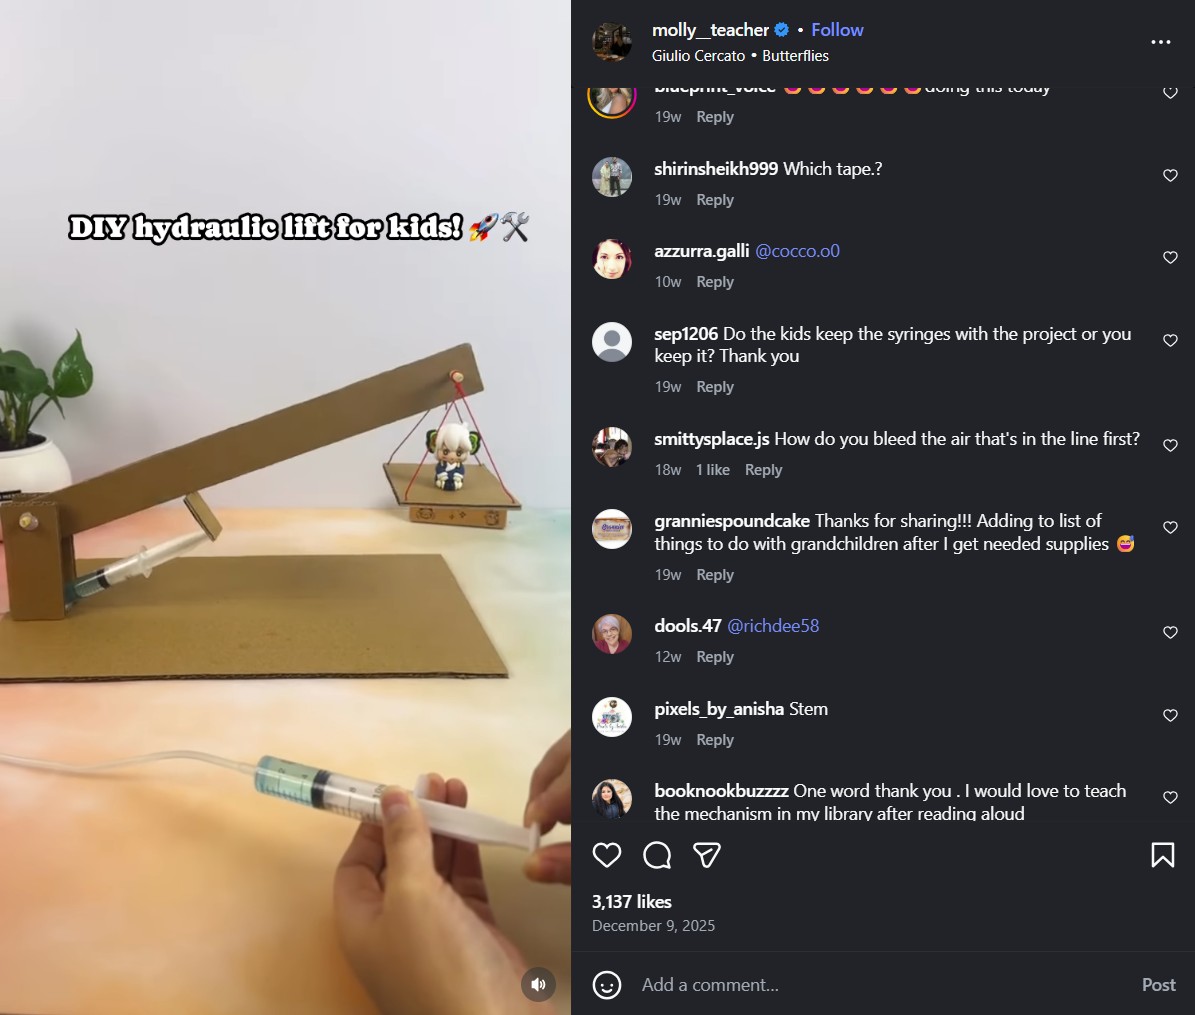 The finished hydraulic lift in action. Kids can experiment with lifting different objects on the platform.
Tips for Success
- Seal all connections well. Any water leak means the lift will not work properly.
- Use larger syringes if you want a bigger lifting range.
- Food coloring in the water makes it easier for kids to see the “power” moving through the tube.
- This works great as a classroom project too. Kids can race to see whose platform lifts a small toy first.
The Bottom Line
This hydraulic lift experiment is one of those rare activities that is genuinely educational, genuinely fun, and genuinely easy to set up. Ten minutes of prep, and your kids get a hands-on introduction to fluid mechanics and engineering. That is a trade-off worth taking.
Give it a try and see how high your kids can lift their platform.
Linea
Professional mom of three and somehow still standing. Low-prep activities, cozy traditions, kid-friendly recipes & finds for curious kids, because we're all winging it together :)
Learn more about us →